Monday, April 30, 2012
Wednesday, April 25, 2012
Rock Art

“Rock, stone, pebble, sand; body, shoulder arm, hand;
A moat to dig a shell to keep, All the world is wide and deep.”
Rock Art:
What you need:
- watercolour paper
- masking tape
- watercolour paint
- pebbles or stones
- time!
Prepare your watercolour paper ( Preparing Watercolour paper ) .
These are very professional directions. I use masking tape, and have never fully
submerged my paper ... I give it a liberal dousing with a wet paint brush.
Let your paper dry in the sun, and then mount it onto a clipboard,
drawing board, cardboard with masking tape.

Select some stones or pebbles.
Heavy, smooth ones seem to work best.

Mix a range of complimentary watercolours

Tape your paper onto a board/ piece of masonite/plastic tupperware lid -
anything flat that wont get soggy.


Start to layer your watercolours, by dabbing a colour ladden brush onto the top of your stone, and letting the water drip and run. Let the paint dry at various stages.
Do not move the stone until you are finished and the last layer has dried!
After a few days they may (or may not!) resemble these.
The whole process can take a day, or two or three - depending how much sun you have, and how much patience and time.
It's art, geology and character building ;)


Tuesday, April 17, 2012
Science Workshops: Mini-beasts
CSIRO Workshop: Mini-beasts
One of the Home Ed. moms seamlessly organizes incursions, about once a month throughout the year, to the CSIRO educational workshops. We love them! The whole day is an event, as we have to plan ahead, leave home early to catch the train, and then often take our time getting back afterwards.
This week the education officer/friendly scientist presented a workshop called Mini-Beasts. There is a full list of available workshops here.

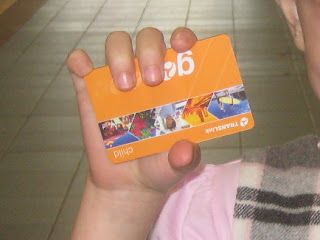
The journey was extra-special, as this was the first time BlueBelle used her own go-card!
Definitely worth getting if you are travelling around on public transport.

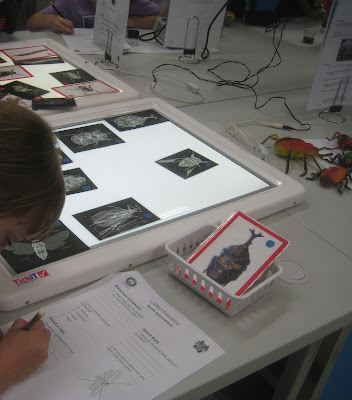
There were a number of activities set out for the children to work through. I think the activities were very thorough. From life cycles, food chains, social insects, classifying orders, parasites, pests and beneficial insects, insect anatomy, ideas on how to catch insects, insect sounds and even insect xrays.

And the facilities are terrific as well - microscopes, digital microscopes, light boxes, specimen and of course insects both models and live. We were pleased to see our old friends the stick insects - alive and thriving, unlike the specimens below.

Some entomology and related links you may like:
- Great fact sheets provided by CSIRO
- Poissonrouge Bugs
- Entomology Australia
- bugs ed
- Insect animation
- Smithsonian Institute


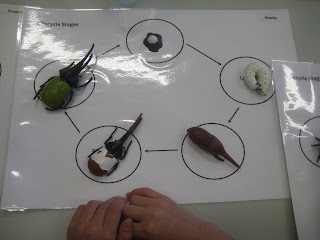
hands-on life cylces charts: Dragonfly; Butterfly; Beetle

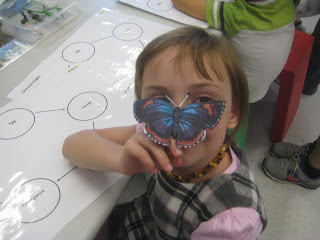
Of course no day is complete without a butterfly on your nose.
in the garden
the little girl dances
behind the butterflies
Saturday, April 14, 2012
Geography Landforms
We love making these.
And it's very easy. We use air dried clay, because they are something we make often. When we move onto making continents, and have perfected that art, we'll use the more durable oven baked fimo ... because they'll make a good reference resource.

Print out the landform cards.
Here are some good ones
Trace the outlines onto tracing paper and cut them out (keeping the negative and positive shapes).
Fill a container lid with clay. Place the cutout on top of the clay.

Scoop out clay to suit your landform.

Wait for them to dry.


Fill the ocean with blue sand/marbles/buttons/pom-poms/paper/rice ... they won't last long with blue-food-coloured- water, but you can always make some more.
And then you might like to locate some landforms on a wall map or in an atlas, or try the
Subscribe to:
Posts (Atom)